Add A New Gallery
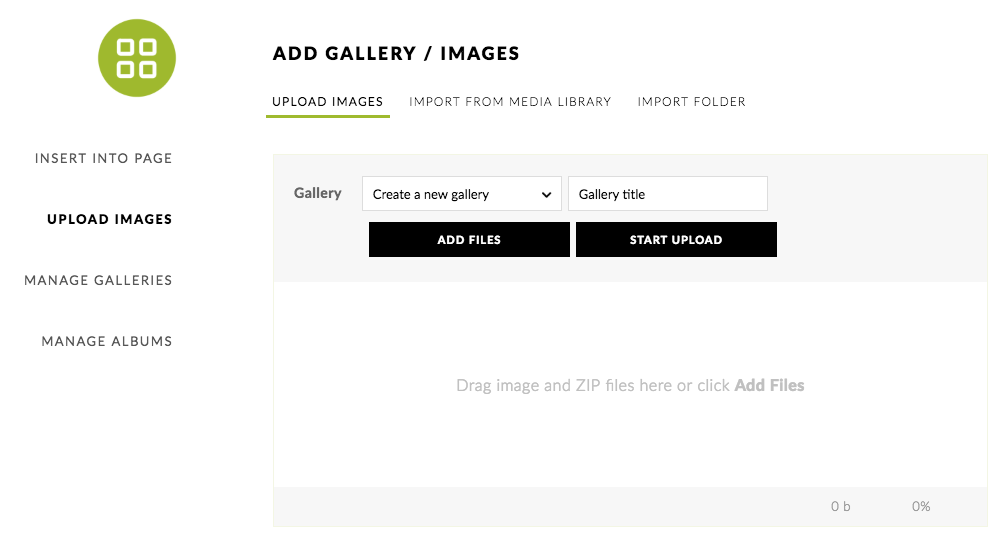
- Go to Gallery > Add Gallery/Images > Upload Images. Here you will name the gallery you will be uploading your images to in the “Gallery title” field. If you are adding images to a previously created gallery, skip this step.

- Once you’ve added a title click “Add Files” or drag and drop an image into the appropriate area. Once done, click “Start Upload”.
Upload Images To A Page or Post
Open your page or post or create a new one. Click the NextGEN icon in the toolbar.
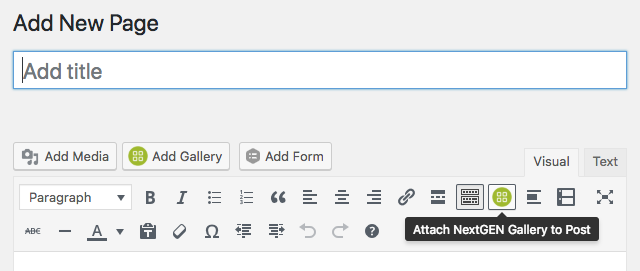
You have two options of uploading images:
Upload Individual Images
- First, choose the gallery to upload images to by choosing “Upload Images”, then selecting the gallery you want to edit.
- Select your image files from your computer or drag a batch of images (you can include .zip files) and drop them in box provided.
- Click “Start Upload”.
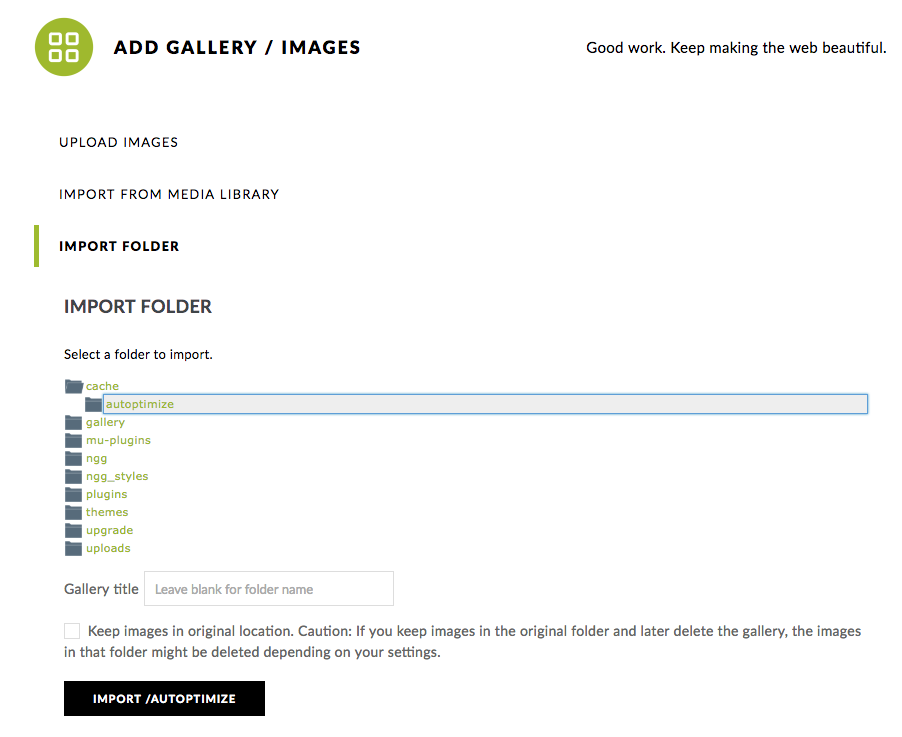
Import image folder
- Select “Import Folder”, then select a folder to import. *The folder name will be used as the title of the gallery, unless you change it in the Gallery Title field.
- You may select to keep images in original location, if you keep this option unselected, images will be copied over to your NextGEN ‘gallery’ folder under /wp-content/gallery.
- Click ‘Import/Dynamic’. This will import the images in that folder on your server, to a new folder that will appear under Gallery > Manage Galleries.