NextGEN Gallery allows you to create a slideshow with transition options for your photos.
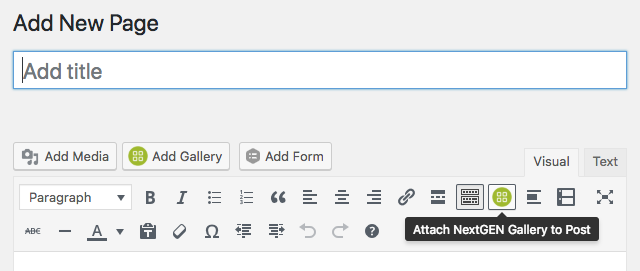
Open a new page or post – name it and click the NextGEN icon in the toolbar.
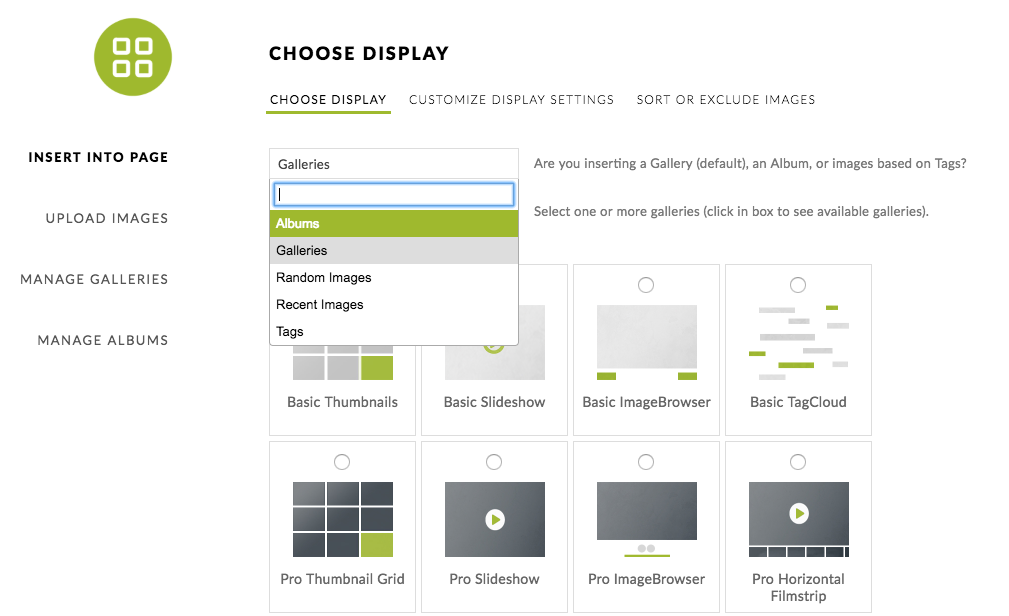
When the NextGEN Gallery opens, you will have multiple options. You will want to start in the Choose Display tab.
What Would you lIke to display? Select if you want your slideshow photos to be from a Gallery, Album, Random, etc. under the Source options.
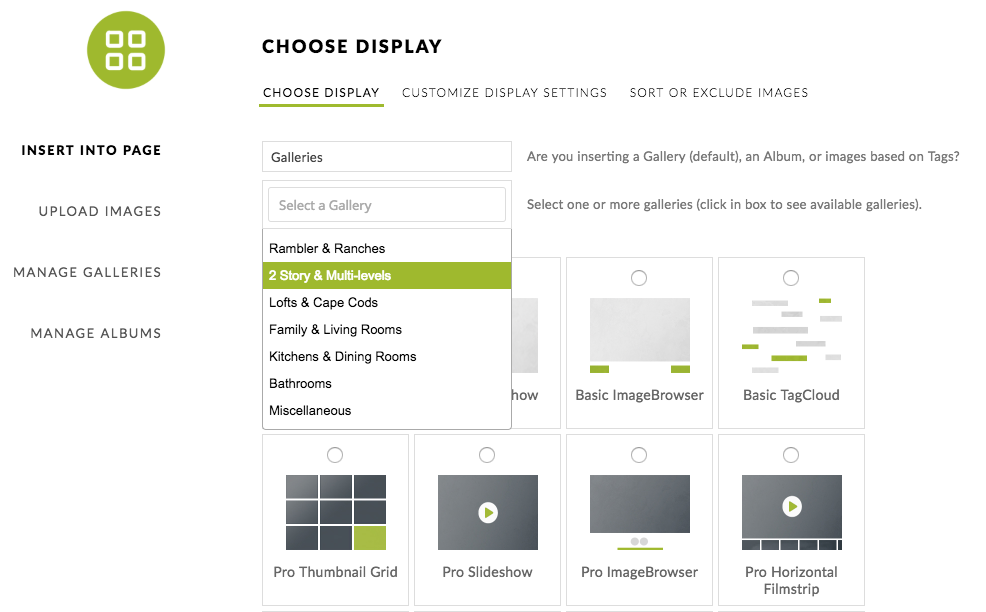
Select the specific Gallery or Images you would like to appear under the Galleries source option.
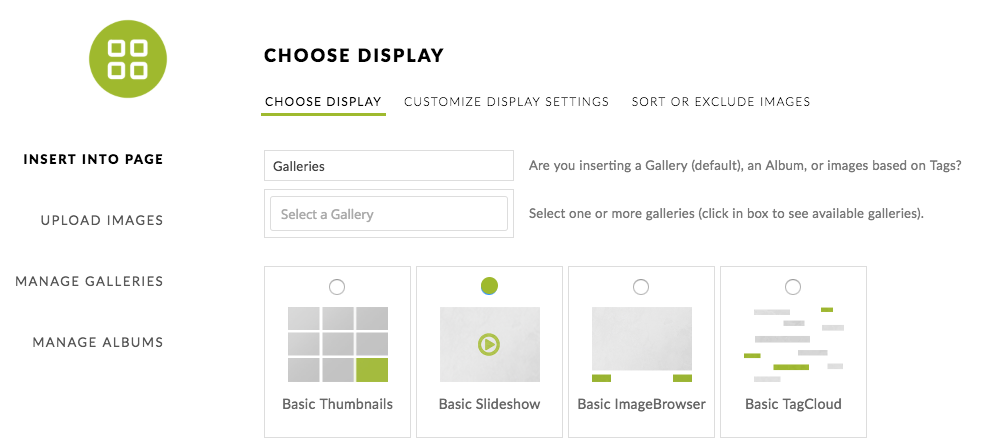
Select a Display Type: select the option that you need – Example: Basic Slideshow
Customize the display settings tab – Allows you to change the size, speed and transition effect between photos.
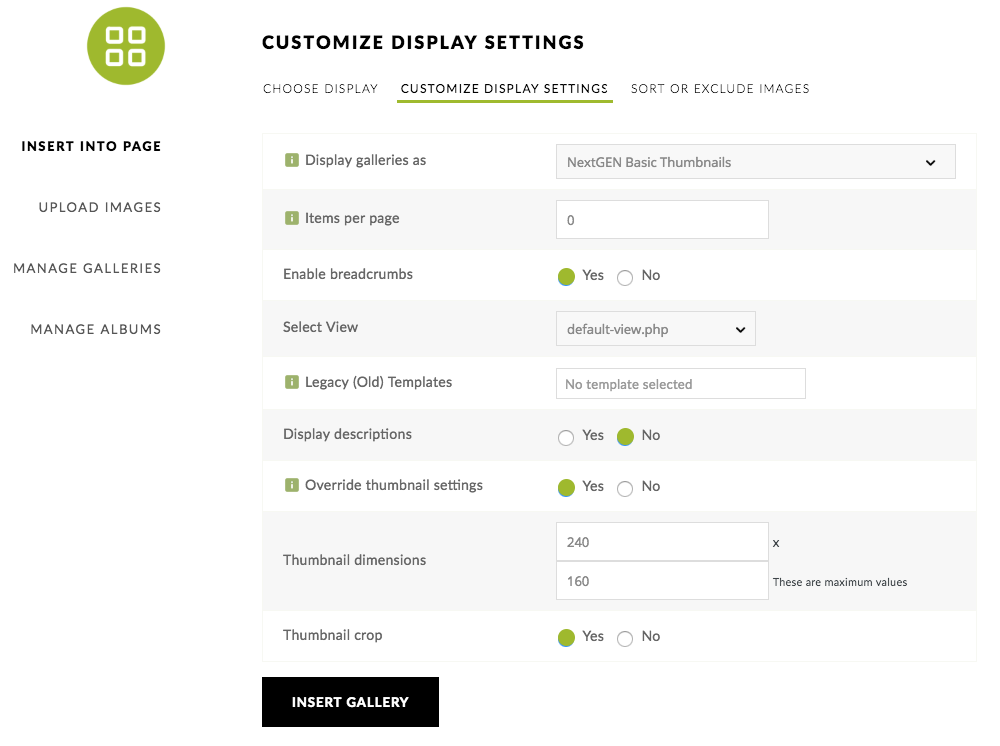
- Maximum dimensions: set the size you would like the slideshow to display
- Effect: Select from the dropdown of effects options to transition from one photo to another
- Interval: Set the number of seconds before changing to the next photo
- Show thumbnail link: Click Yes to add a clickable link that will allow the user to switch your slideshow to a gallery of thumbnails and back again
- Thumbnail link text: If you choose to add the thumbnail link, you can change the default text from [Show thumbnails] to whatever you choose
- Display Triggers: If you have NextGEN Pro or NextGEN Plus installed, and you have the Pro Lightbox Effect enabled, you may choose to display the trigger icons that launch the Pro Lightbox to view your gallery images.
Click Save and a NextGen Gallery thumbnail will drop into your editor to hold the place of your slideshow. Content can be added above or below the slideshow. Publish your page or post.
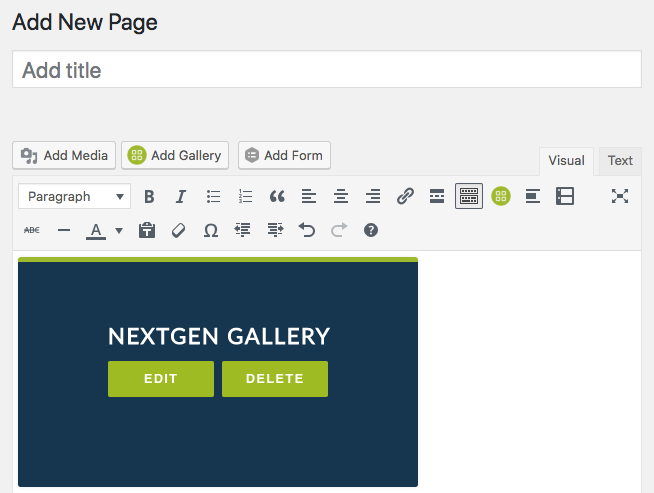
To edit your slideshow
To edit something on your slideshow, simply click the “edit” icon on the thumbnail image and make your changes within the NextGEN settings. Be sure to click SAVE.