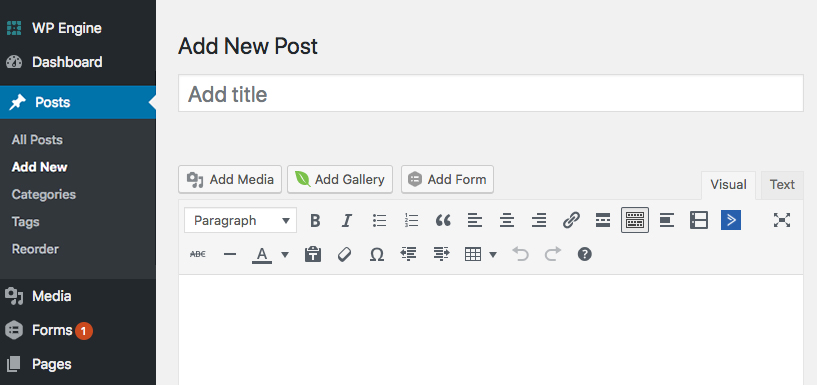
How to Add a New Post:
- From the left-hand navigation menu in the dashboard, select the “Posts” Button.
- Select “Add New“.
To Edit an Existing Post:
- From the left-hand navigation menu in the dashboard, select the “Posts” Button.
- Select “All Posts“.
- Hover over the post you want to edit and select the “Edit” option.

 Tip: Give your Posts short but descriptive Titles. This title will appear at the top of your post and will become the linked text that goes to this post in other pages. It also becomes the default post name that Google will read and show in the search engine results.
Post Options
To the right and below the text editor are a number of features and advanced options for your post. Here you can assign things like categories, tags, allow or disallow comments, set a featured image, etc.
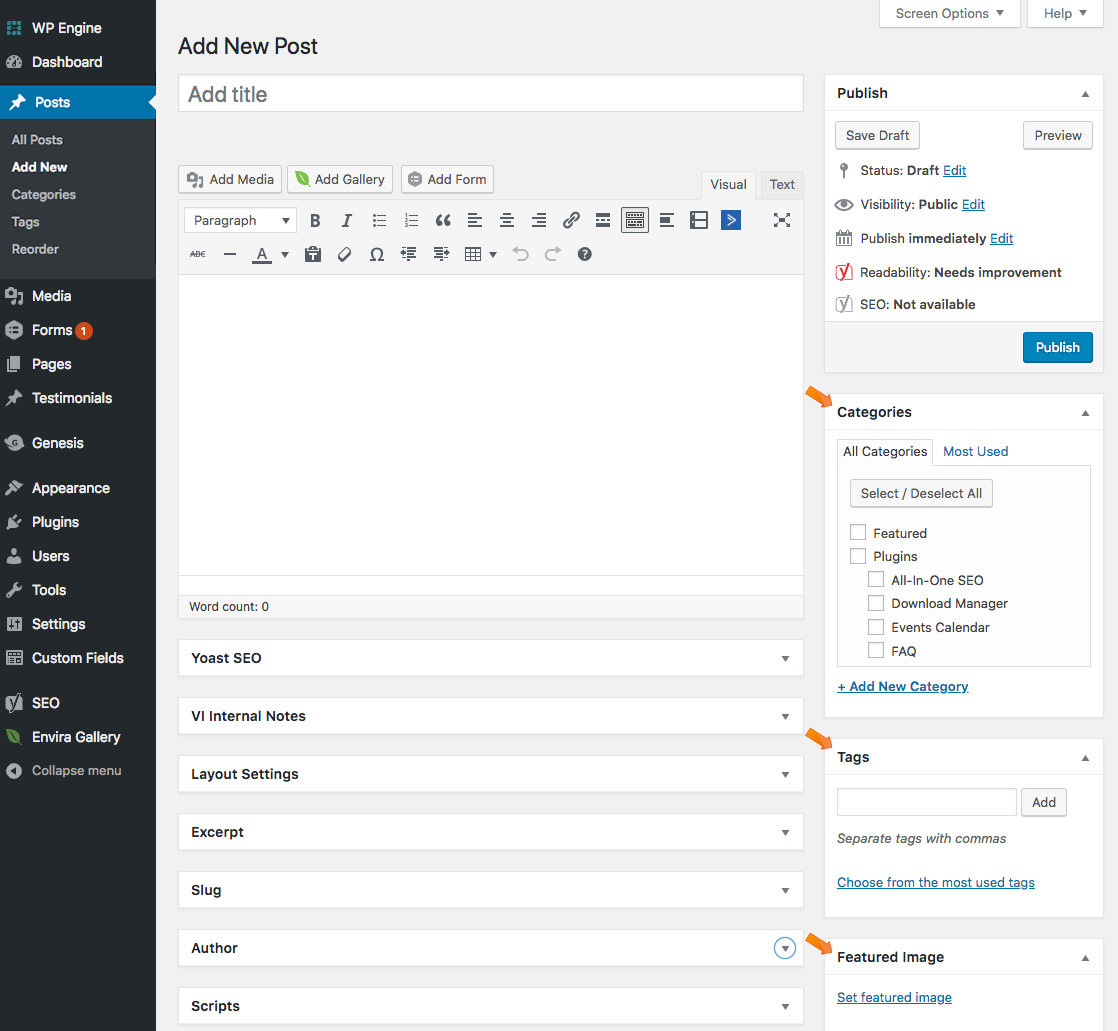
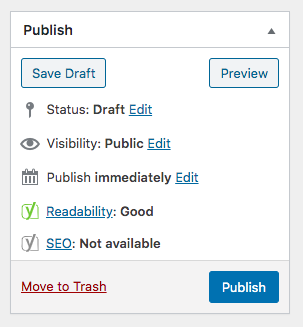
Publish Box
- Page Status – this displays the current status of the page as a draft or published page. You can also set it to private which would require a password to access it.
- Visibility – this displays the current status of the page as public, password protected or private (this is also where password is set for password protected pages).
- Published on – displays when the page was published. This is also used for scheduling future publish dates.
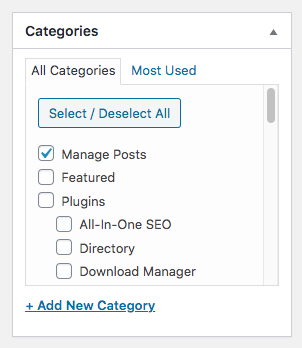
Categories Box
- Categories – attach your post to a Category. You can add new Categories here. If you neglect to assign the post to a category it will be assigned to your default category.
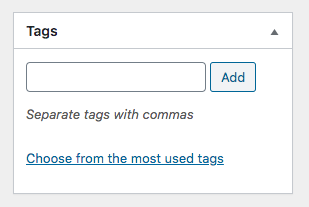
Tags Box
- Tags – assign tags to your Post. Tags are another form of categorization for your posts.
Featured Image Box
- Set a featured image here to appear in an archived list of posts (such as a Blog or News page). Your site may be designed to automatically drop the featured image into the top of the post as well.

Author Box
- Page Author – if your site has multiple users you can assign one as the author of the post here.

Discussion Box (if applicable)
- Allow Comments — by default, this will be turned on. You have the ability to turn off comments on a per-post basis
- Trackbacks and Pings – ping feature will display links to other blogs that had linked to your post. If pings are selected then links to their posts where they had referenced you will automatically appear in your list of comments once their site has pinged yours.
Comments Box (if applicable)
- This is where you will see and be able to manage any submitted comments related to the specific post
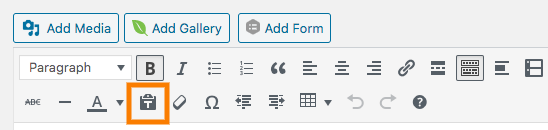
Tip: If you previously wrote your content using a word processor like Microsoft Word, you will transfer lots of formatting when copying and pasting the text into your WordPress editor. It will produce a lot of unnecessary code which may cause issues in how it displays to your site visitors. To avoid this, you can first paste your text into a simple text editor like Notepad (all Microsoft operating systems include the Notepad program) which will strip all the formatting from Word into pure text. Or, you can copy and paste from your word processing application into WordPress using the “Paste as Text” option which will strip out all the formatting as well. You will now need to add your formatting as you would like it displayed on your website.